Integrating Keycloak, an Identity and Access Management solution, with a NodeJS application can be a powerful combination for securing your application’s resources and managing user authentication. However, finding reliable and up-to-date content and tutorials that provide a step-by-step guide specifically tailored to NodeJS and Keycloak integration can be challenging.
In this tutorial, I aim to address this issue by providing you with a comprehensive guide to integrating Keycloak into your NodeJS application. I’ll walk you through the process, from configuring Keycloak with a pre-existing realm to starting your NodeJS server with Keycloak integration. By following this tutorial, you’ll be able to leverage the capabilities of Keycloak to enhance the security and authentication aspects of your NodeJS application.
The NodeJS application is an Express.js app that uses Passport.js and the Passport-OpenIdConnect module for managing user authentication.
Let’s get started with the Keycloak configuration and then proceed to launch our NodeJS application with Keycloak seamlessly. We’ll start with setting up Keycloak by importing a pre-existing realm, and then we’ll start the NodeJS server.
You will find all the code in my repository @ Github
Keycloak Integration Screens: Login, User Page, and Profile
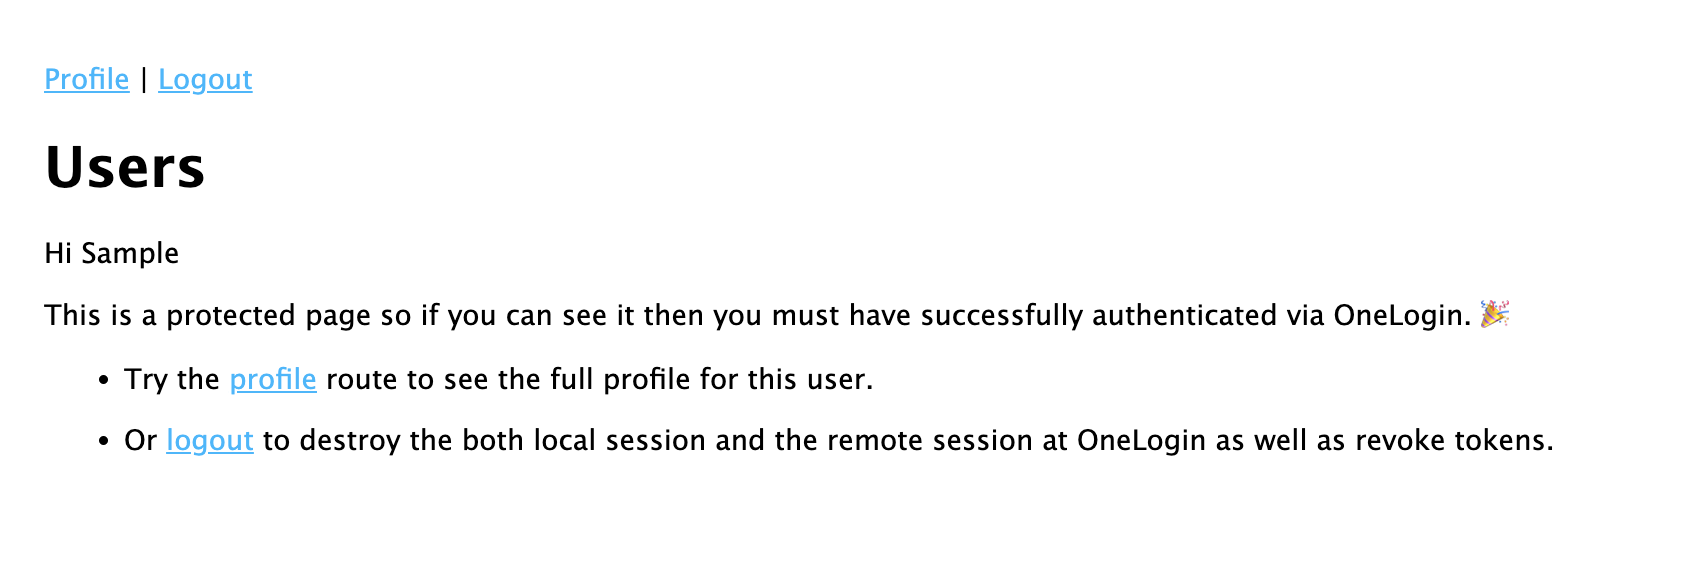
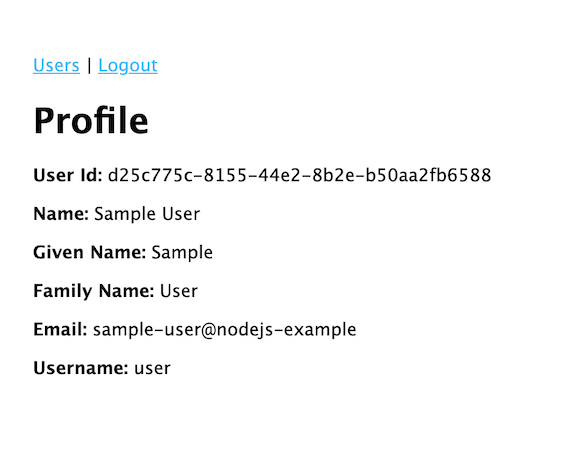
First, let’s see the final result of this integration. We will have access to several screens that enhance the user experience and provide secure access to the application’s resources. Let’s take a look at the key screens involved in the Keycloak integration:
- Login Page: The login page is the initial screen where users are prompted to enter their credentials to authenticate themselves. Keycloak handles the authentication process and verifies the user’s identity against the configured realm.

- User Page: After successful login, users are redirected to a protected user page where they can access secured resources within NodeJS application. This page can be customized to display user-specific information or provide access to specific features based on user roles and permissions defined in Keycloak.

- Profile Screen: The profile screen allows users to view profile information. It displays attributes associated with the user, such as name, email address, and other custom attributes configured in Keycloak.

In the following steps, I will guide you through the configuration and setup required to utilize these screens effectively.
Passport.js Integration
I will not describe the usefulness of each line of code but you should know that to have a successful integration of the Passport-OpenIdConnect strategy, you must apply these steps:
- Use Passport with OpenId Connect strategy to authenticate users with Keycloak
var passport = require('passport')
var KeycloakLoginStrategy = require('passport-openidconnect').Strategy
- Initialize Passport
app.use(passport.initialize());
app.use(passport.session());
- Configure the OpenId Connect Strategy with credentials obtained from Keycloak
passport.use(new KeycloakLoginStrategy({
  issuer: baseUri,
  clientID: process.env.OIDC_CLIENT_ID,
  clientSecret: process.env.OIDC_CLIENT_SECRET,
  authorizationURL: `${baseUri}/protocol/openid-connect/auth`,
  userInfoURL: `${baseUri}/protocol/openid-connect/userinfo`,
  tokenURL: `${baseUri}/protocol/openid-connect/token`,
  callbackURL: process.env.OIDC_REDIRECT_URI,
  passReqToCallback: true
}));
- Add serializeUser and deserializeUser functions
passport.serializeUser(function(user, done) {
  done(null, user);
});

passport.deserializeUser(function(user, done) {
  done(null, user);
});
To maintain a login session, Passport serializes and deserializes user information to and from the session. These two functions are used to store and retrieve the authenticated user from Express.js session (express-session library).
- Initiates an authentication request with Keycloak
app.get('/login', passport.authenticate('openidconnect', {
  successReturnToOrRedirect: "/",
  scope: 'profile'
}));
- Only allow authenticated users to access a secured route
function checkAuthentication(req,res,next){
  if(req.isAuthenticated()){
      next();
  } else{
      res.redirect("/");
  }
}

app.use('/users', checkAuthentication, users);
Keycloak Configuration
- Make sure you have Keycloak installed and running on your machine. You can download it from the official Keycloak website here and follow the appropriate installation instructions.
Deploy Keycloak as a container using podman :
podman run --name keyclock -e KEYCLOAK_ADMIN=admin -e KEYCLOAK_ADMIN_PASSWORD=admin -d -p 8181:8080 quay.io/keycloak/keycloak:21.0.2 start-dev
Warning Leaving the podman VM running will cause a time drift pretty quickly, so be carefull. Restarting podman machine resolve the issue.
-
Access the Keycloak administration interface by opening your browser and navigating to the following URL:
http://localhost:8181/admin/master/console/. You may need to adjust the url based on your configuration. -
Log in to the administration interface using your administrator credentials.
-
Create a realm by clicking on “Add Realm”.
-
Import a pre-existing realm by clicking on “Browse” and select the JSON file
nodejs-example-realm.json.
Starting NodeJS with Keycloak
-
Make sure you have NodeJS installed on your machine. You can download it from the official NodeJS website here and follow the appropriate installation instructions.
-
Open a command line or terminal and navigate to the directory of your NodeJS application.
-
Rename the .env.sample file in the root directory to .env. This file will store your environment variables. You may need to adjust those environments based on your configuration.
mv .env.sample .env -
Open the
.envfile and provide the following configuration values for authentication:OIDC_BASE_URI: The base URL of your Keycloak server.OIDC_CLIENT_ID: The client ID of your application registered in Keycloak.OIDC_CLIENT_SECRET: The client secret associated with the client ID.OIDC_REDIRECT_URI: The redirect URI where Keycloak will redirect the user after successful authentication.
Make sure to replace these placeholder values if changed with your actual Keycloak configuration details.
-
Run the following command to install the necessary dependencies:
npm installThis will install the dependencies specified in
package.jsonfile. -
Run the following command to start the NodeJS server:
npm startThis will launch your NodeJS application and make it accessible via a web browser.
-
Open a web browser and navigate to the NodeJS application’s URL. (localhost:3000)
-
Click on the “Login” button or link to access the login page.
-
Use the pre-configured user credentials to log in. For example:
Username: user
Password: password
Congratulations! You have now started your secured NodeJS application. Make sure Keycloak is up and running and properly configured for authentication to work as intended. You can further customize your NodeJS application based on the specific needs of your project. Thanks to Passport-OpenIdConnect, the integration of the OIDC protocol becomes much easier.